Tuesdaytips: creating images with Enroute rapid picture
February 28, 2017
One of the truly unique applications offered by EnRoute software is its Rapid Picture technology. Rapid Picture is an extension of Rapid Texture that allows you to import your favorite photograph as a bitmap image, and apply contours that translate into the contrasting shades of the photograph.
Below is a step by step process of how we easily created an image on 3/4 inch MDF using our 3000 Series MultiCam Router.
First we applied a coat of white semi-gloss paint to our MDF board.
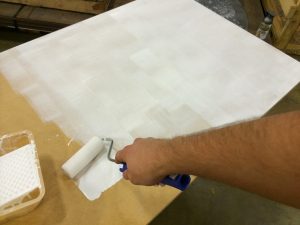
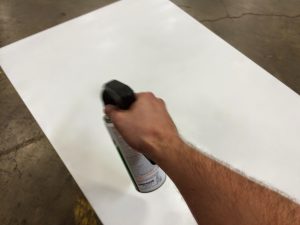
Next, we coated the painted board with a high-gloss sealer. This will allow you to easily apply a contrasting color once the image has been cut. It will also allow you to apply a smaller gap value and prevent any paint being chipped during the engraving process.
Open EnRoute and import your desired .JPG or Bitmap image. High contrast images usually work best.
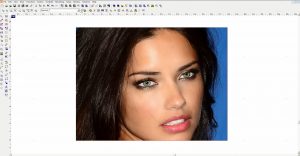
Select your line tool and draw a line across the picture. The direction of the line will determine the direction of the contours being cut. We opted to draw our line diagonally.
With your contour line selected click on the rapid texture icon (highlighted below).
Enter the size values of the image you want to cut then click on the displacement tab. Here you will enter your Wavelength, Offset, and Horizontal and Vertical Amplitude Values. We used a wavelength of 3 and an offset and horizontal/vertical amplitude of .15. You might have to play around with these values depending on the image you would like to cut.

Make sure randomize is unchecked then before you hit apply, click on the picture. Here you will be prompted to select your tool and enter the gap value.
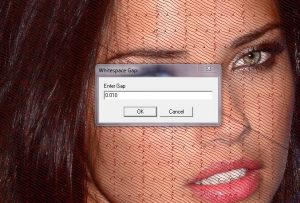
For this image we suggest using a 90 degree conic with a gap value of .01.
Hit apply and EnRoute will automatically begin to create the contours of the image.
Once the contours have been applied you can set your feed, speeds and depths.
The values we used for the piece were:
Feed Rate – 300, Speed – 18000, Depth – .1, Plunge Rate – 100
Export your .DXF file and CUT IT!
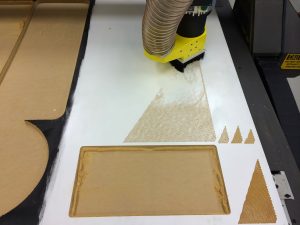
Experiment and enjoy! You might want to play with the values a bit to determine what will work best for your image.
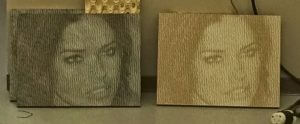
If you are really looking to make the image pop, water down some black paint and apply it to the contours that were cut. Once you wipe off the excess paint you will be left with an almost photo realistic image carved into your material.
Do you want more information? Would you like to schedule a demo or request a quote? We are here for you! Just leave your contact info below and we'll get back to you.